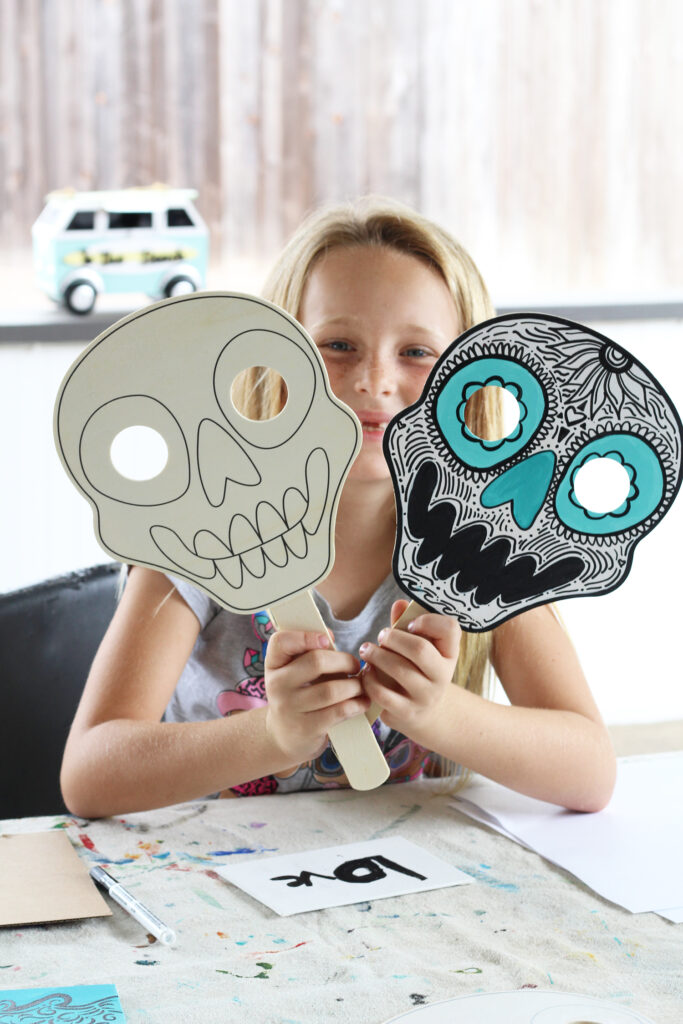
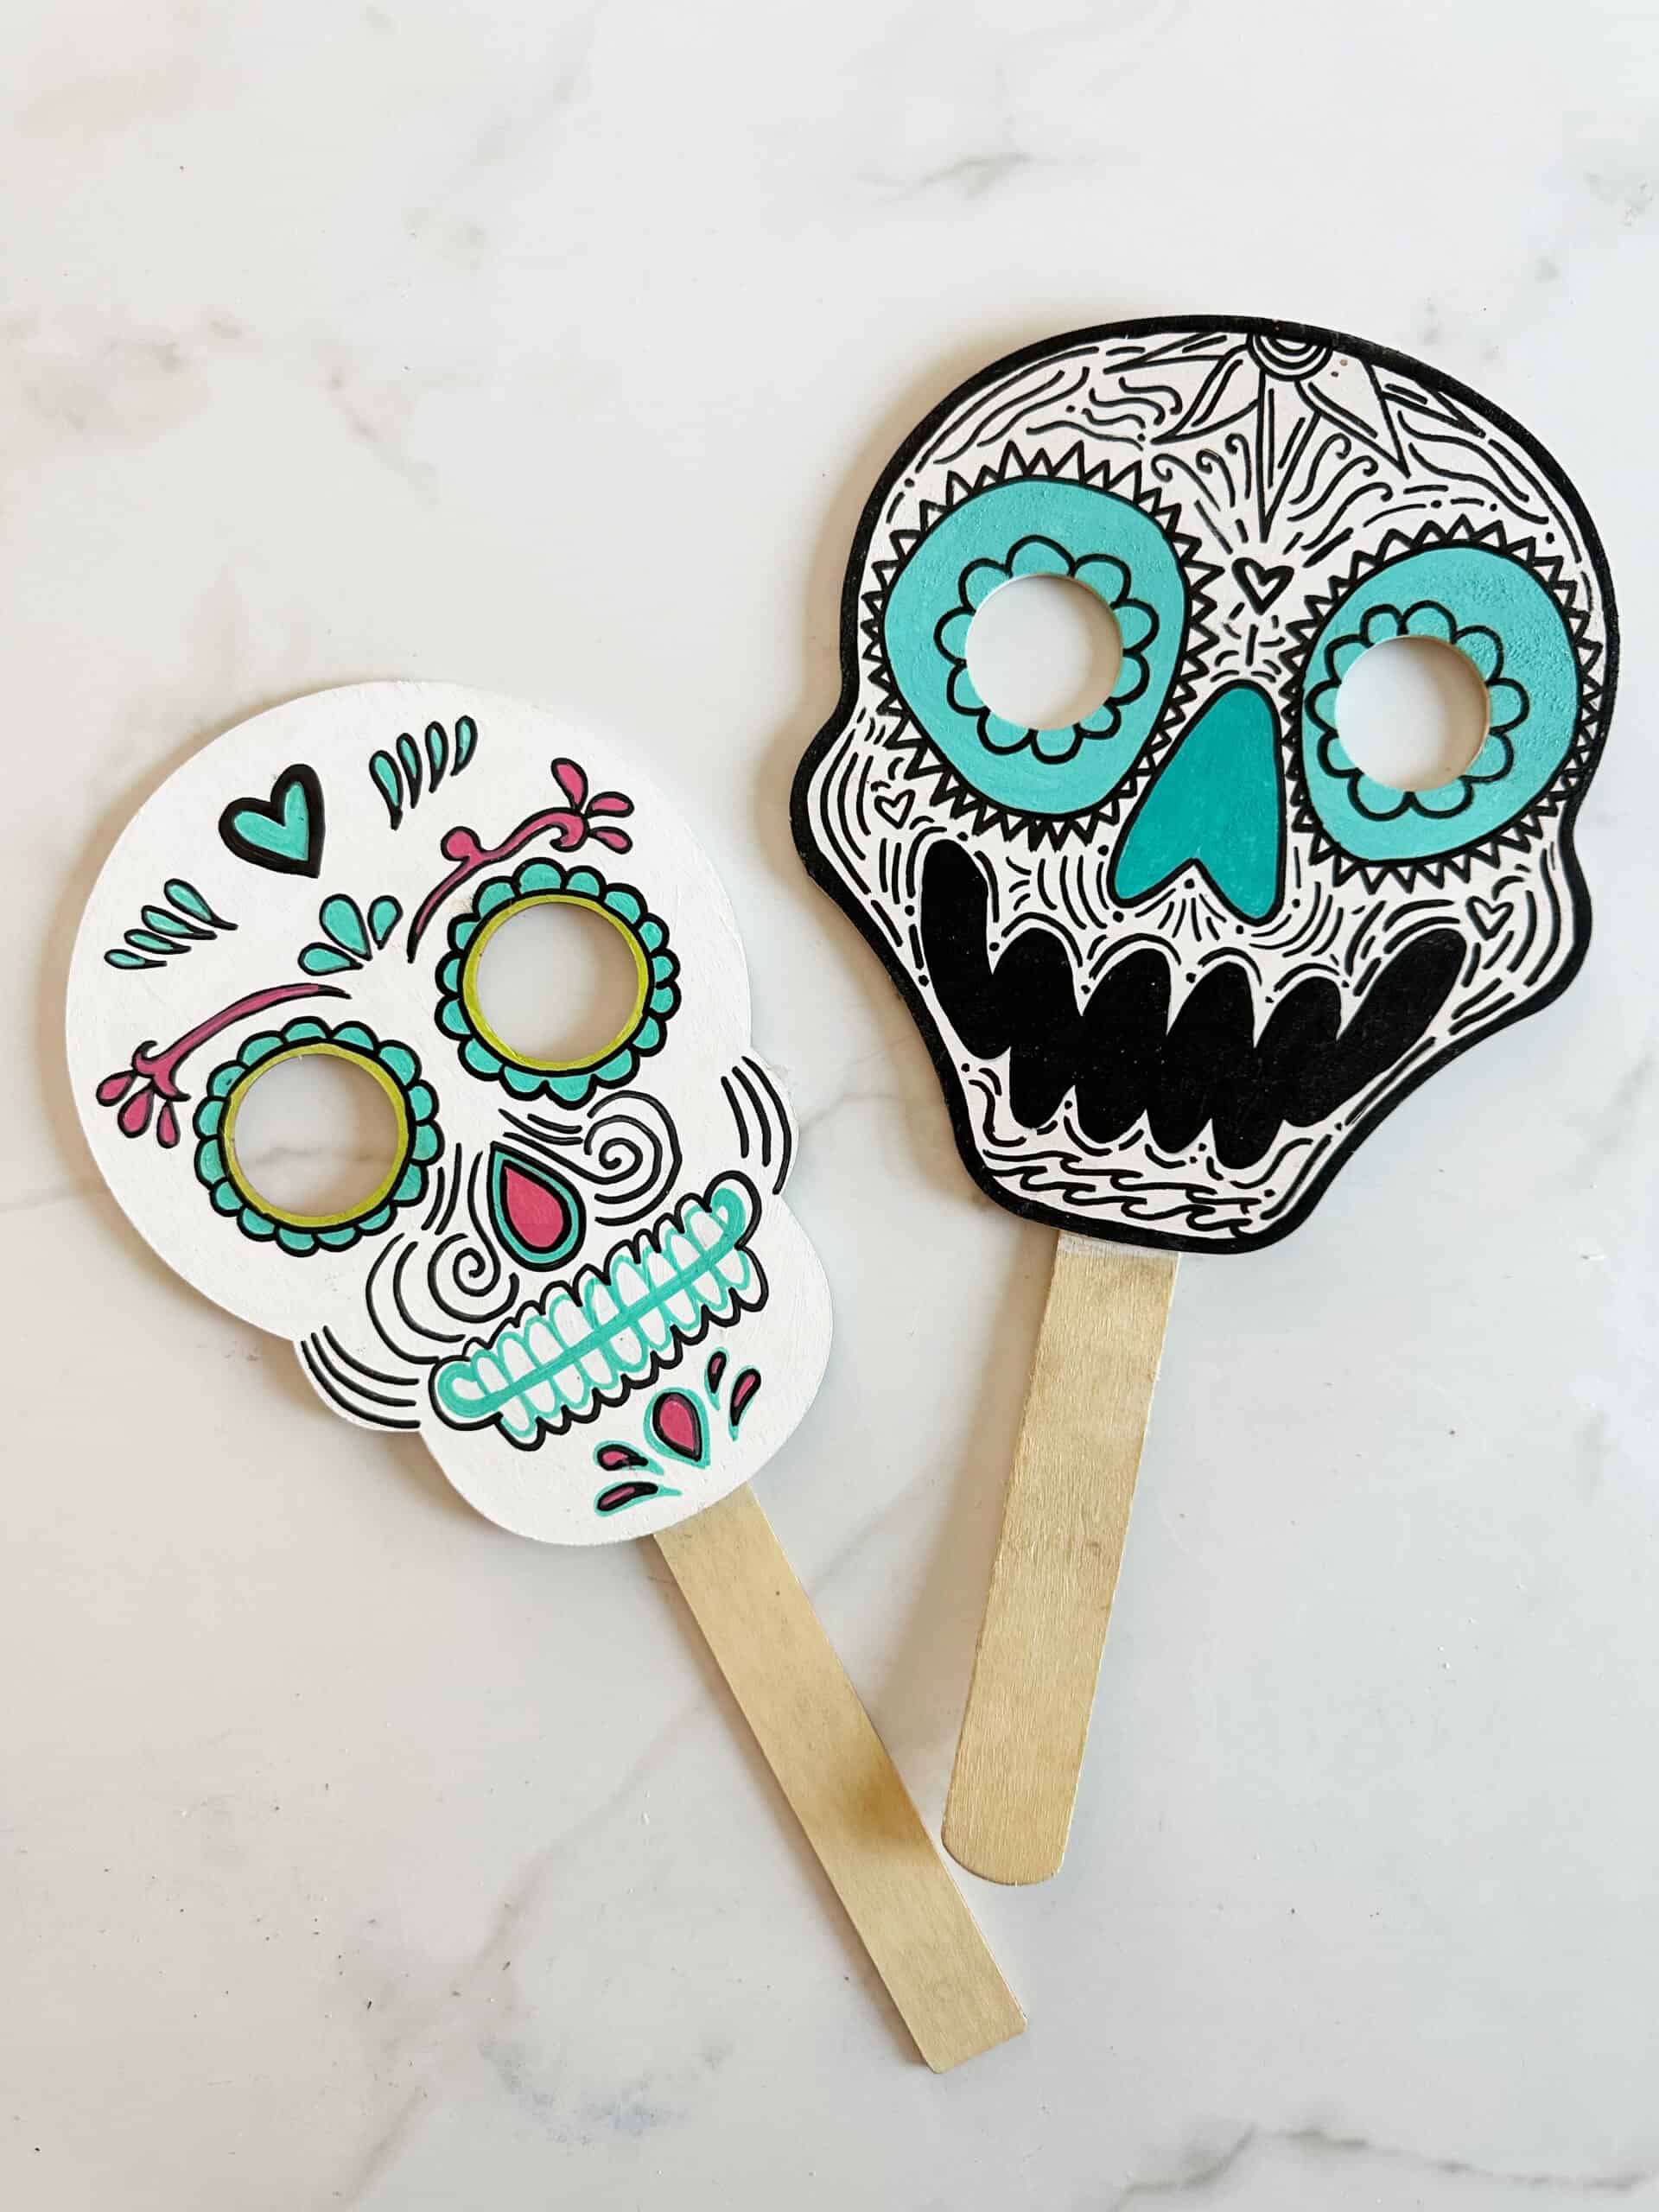
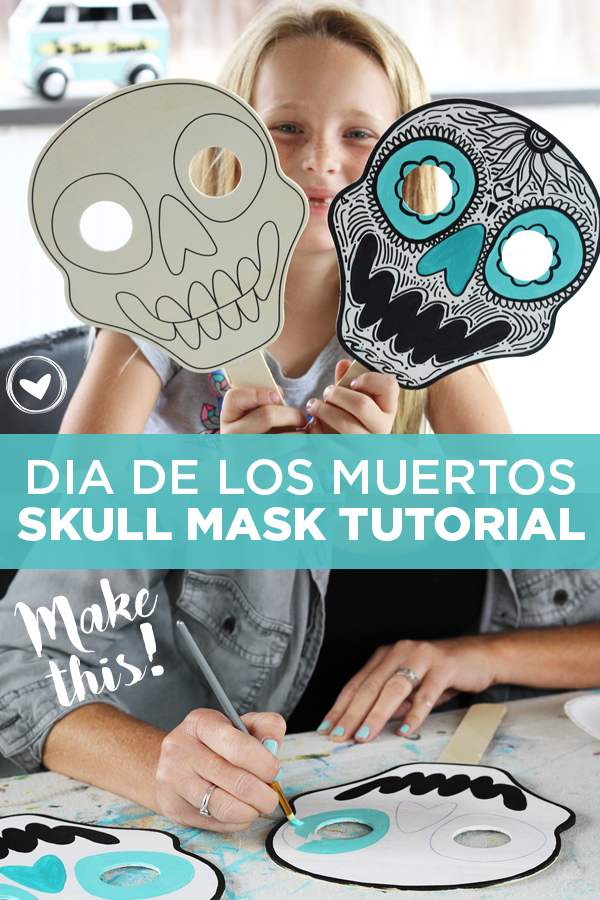
Fall is in the air and we're getting ready for all the fun festivities! During an event featuring my first public mural and hosting a pop-up shop, one of the favorite pieces of the night were the Day of the Dead Masks. Sugar Skulls are typically made from sugar or clay and are used in the Mexican celebration of the Dia De Los Muertos. So, I thought you might like to see how they're made! The kids and adults at the event loved picking up the masks and taking photos. These fun little masks seemed to catch everyone's eyes and they are just super fun this time of year. Check out the Day of the Dead Mask Painting Tutorial below!
Why Paint Your Own Mask?
Of course, you can always buy masks that are already painted but it is so much more fun to paint your own! This will give you the creative freedom to paint whatever you'd like on your mask. The kids also love creating with any color they choose. There are so many things you can do with these masks to make them unique. You can buy a mask at the store to paint or DIY your own Day of the Dead Mask using our free printable!

Supplies You'll Need
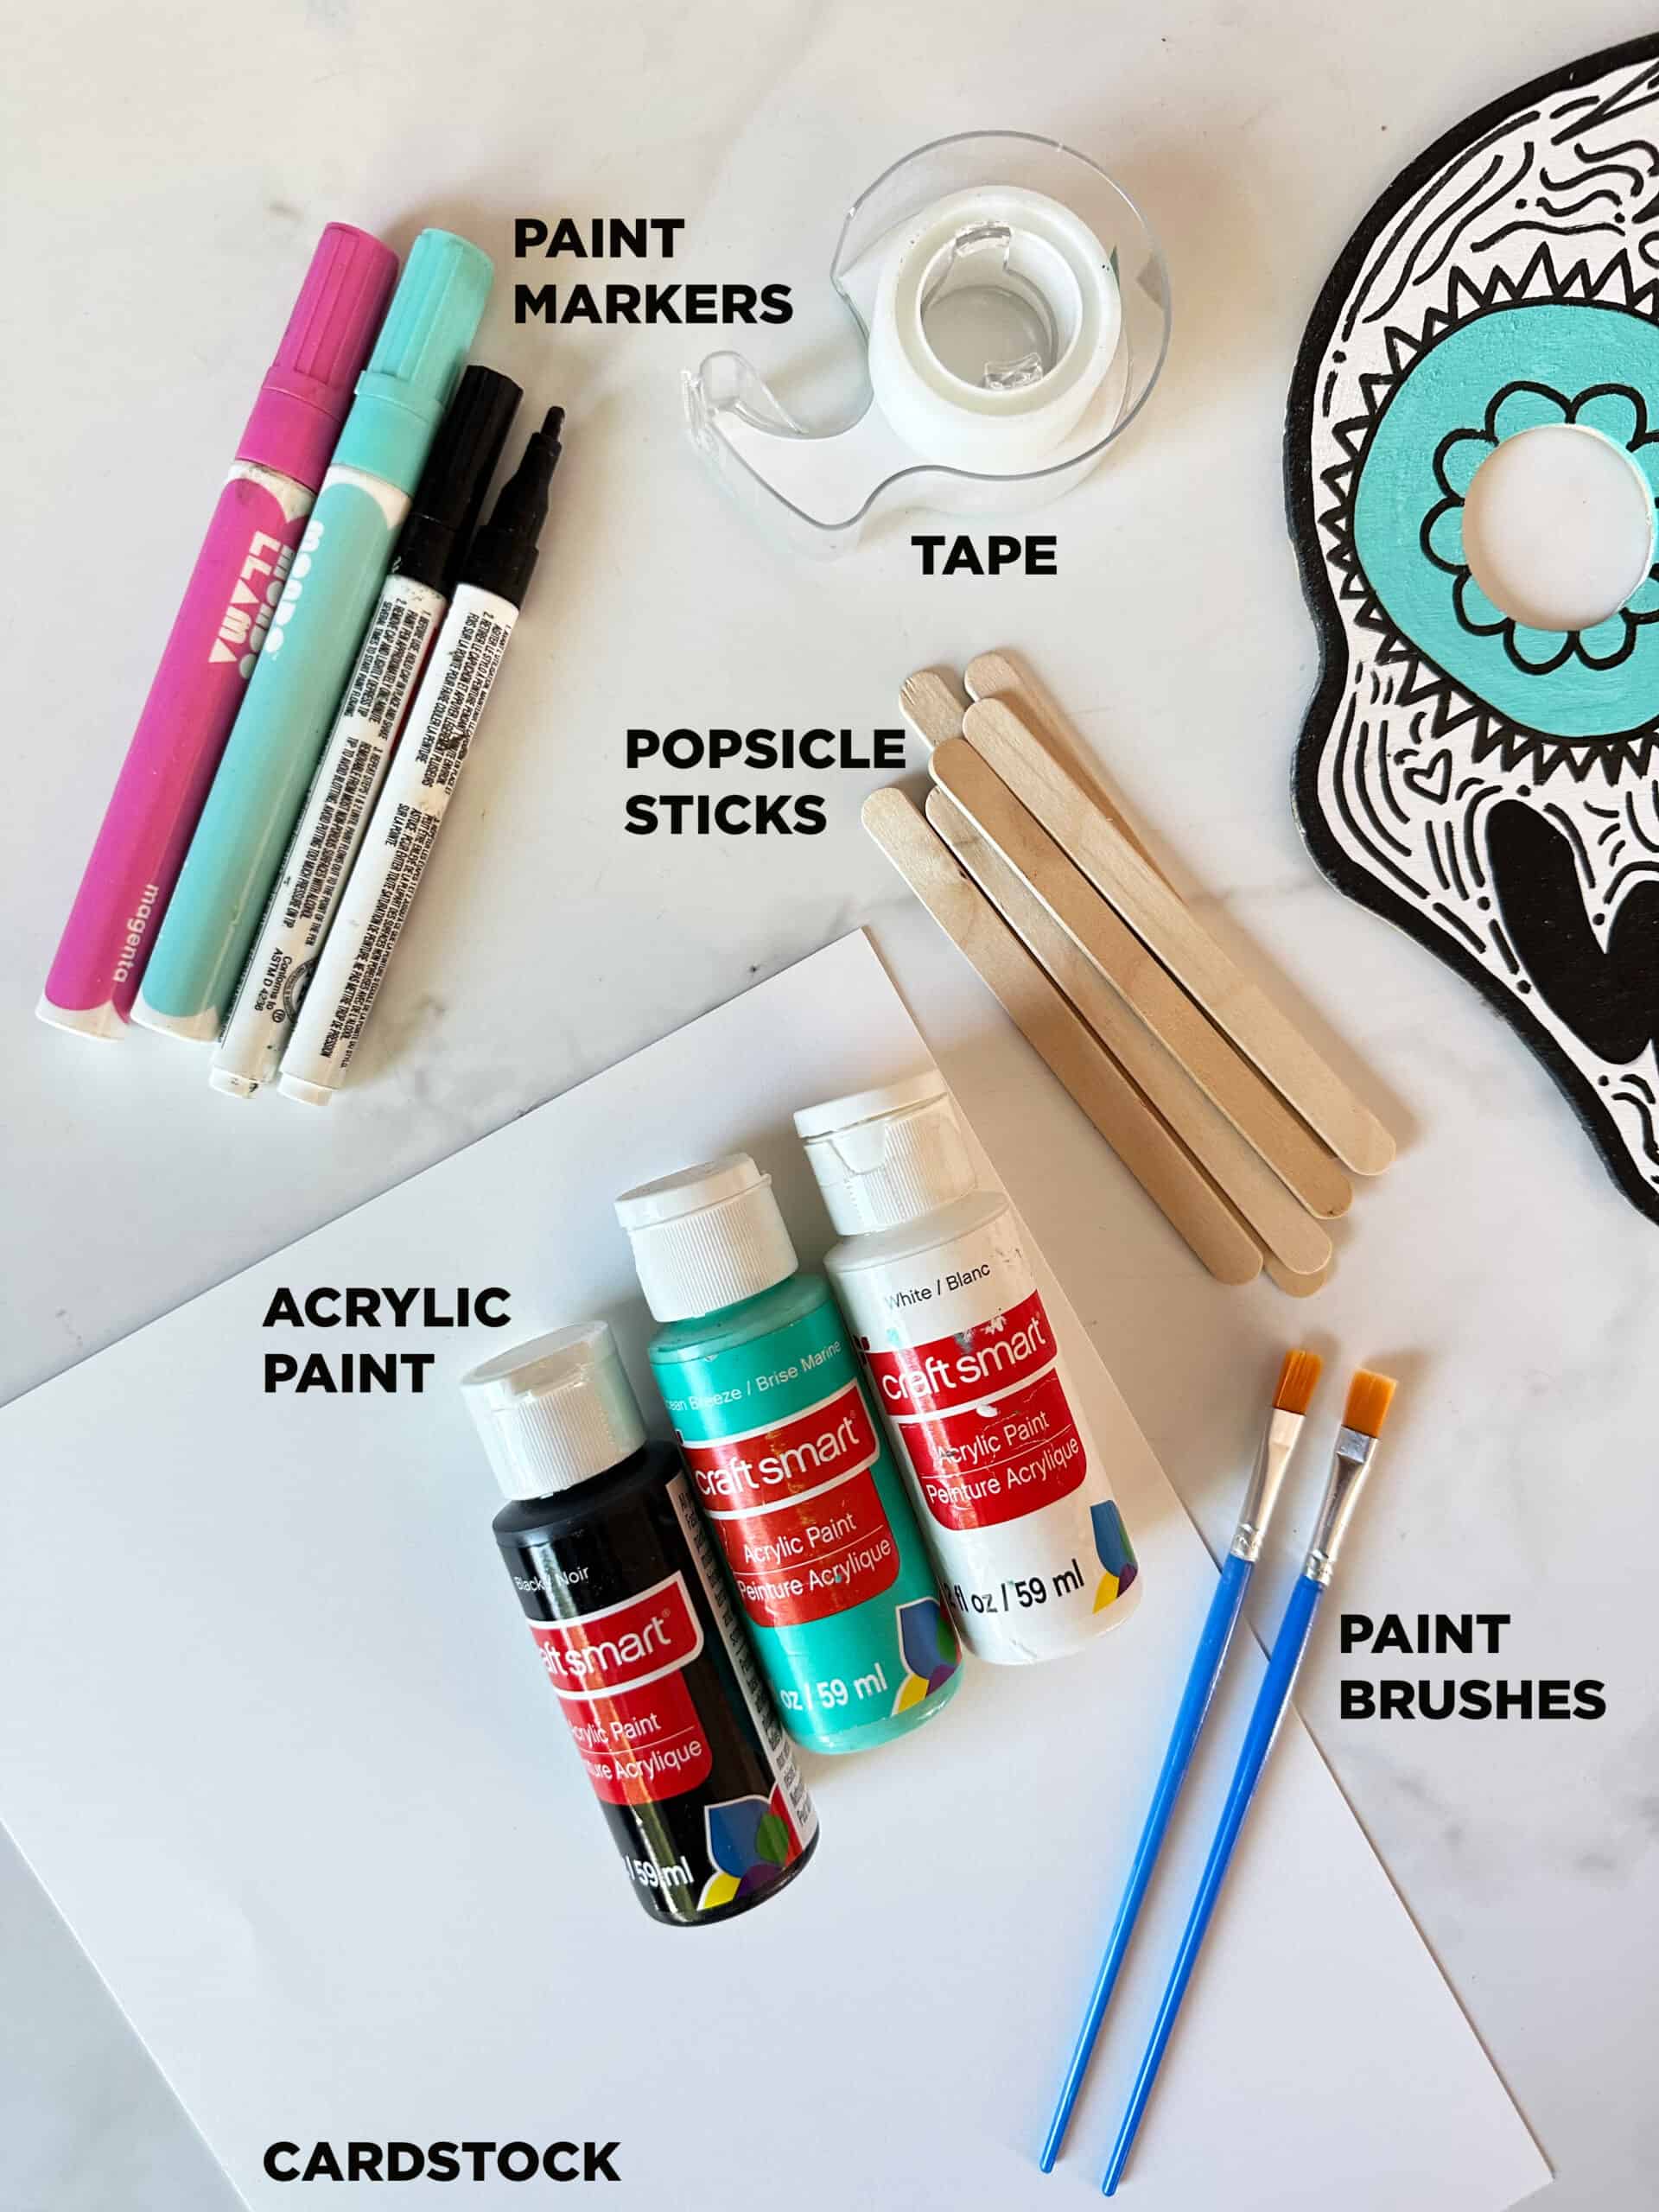
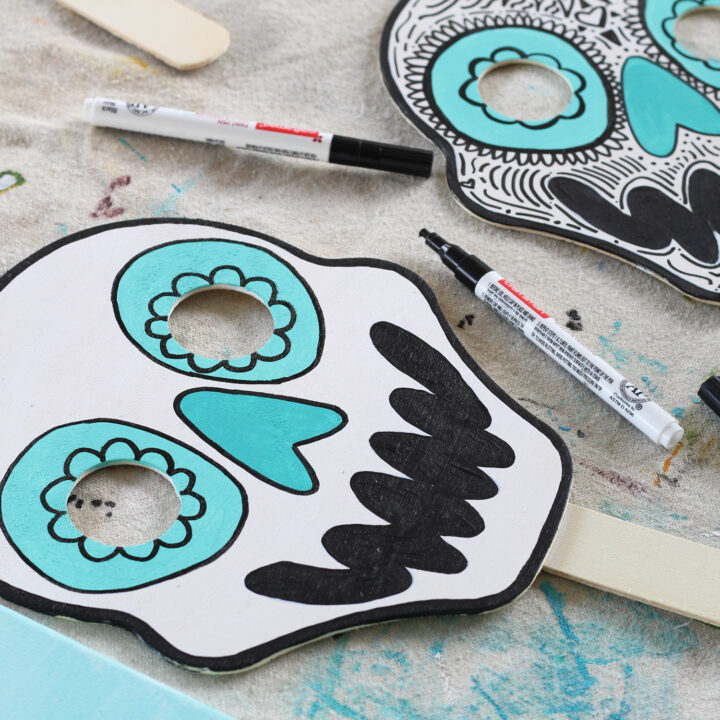
- Acrylic Paint: Use the paint to paint large sections. You can use any color you'd like. I used black, white & teal.
- Paint brushes: Use medium tipped paint brushes. You can use whatever you have on hand but small to medium size is best for this project.
- Paint Markers: These are used to draw the designs and add in any additional elements.
- Popsicle Sticks: Thin or thick popsicle sticks can be used to attach to the printed mask.
- Card Stock: Used to print the mask on. You can use regular paper, it just won't be as sturdy.
- Printer & Ink: Print the mask
- Tape or Glue: You can use tape or glue to attach the printed mask to the popsicle stick.
- Mask Printable: Download the printable mask here.
- Scissors: Use scissors to cut the skull out.
- Optional: Buy a Wooden Skull Masks. These can be found at Michaels and other hobby stores.
Step by Step Skull Mask Tutorial
Creating these fun Dia De Los Muertos Skull Masks are super easy, fun and the whole family can make one!
- Gather supplies: paint, paint brushes, paint markers, popsicle sticks, card stock, printer and ink, tape or glue and scissors.
- Set up your work station: cover your table with newspaper or canvas tarp.
- Print the printable mask with your printer.
- Cut the skull out of the paper and cut out circles for eyes.
- Tape or glue the skull to the popsicle stick.
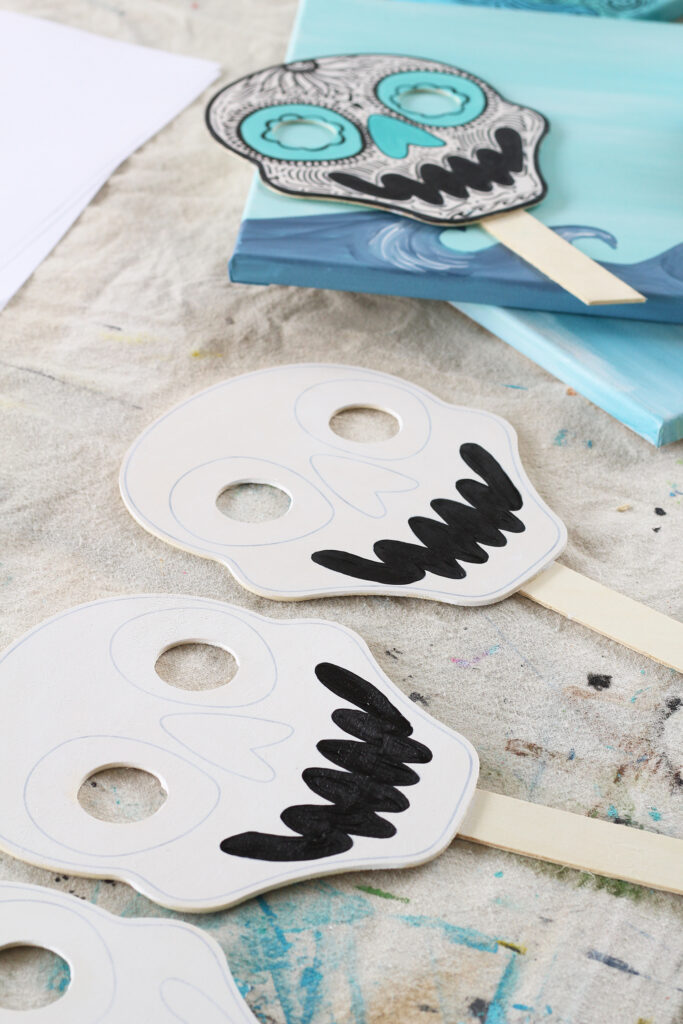
- Paint the skull white then let dry.
- Then Paint the mouth black.
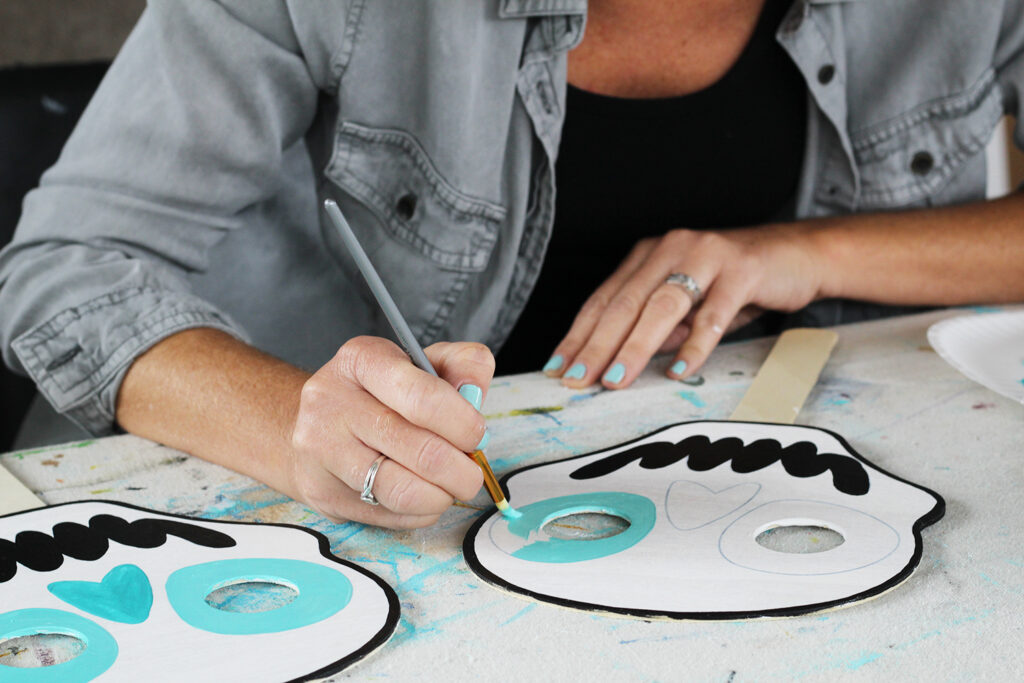
- Next, Paint the eyes and nose teal then let dry.
- Design your mask with the black paint marker. You can do this however you like but a few things I did first:
- a wave at the bottom
- a flower at the top
- a heart between the eyes
- a flower around the interior of the eyes and exterior
- Once you have the above design elements, you can take your paint marker and create lines and dots that flow in the direction of the elements.
You can paint the masks any color you'd like but since I was working with a beach theme, I stuck with teal, black and white. I love how the teal pops and the black + white creates a good contrast. You could always use multiple colors if you'd like.
Day of the Dead Mask Tutorial
An easy to paint, Dia De Los Muertos Skull Mask!
Materials
- Acrylic Paint
- Paint brushes
- Black Paint Markers
- Wooden Skull Masks
- Popsicle Sticks
- Printer & Ink
- Tape or Glue
- Scissors
Tools
- Printer and Ink
- Scissors
Instructions
- Gather supplies: paint, paint brushes, paint markers, popsicle sticks, card stock, printer and ink, tape or glue and scissors.
- Set up your work station: cover your table with newspaper or canvas tarp.
- Print the printable mask with your printer.
- Cut the skull out of the paper and cut out circles for eyes.
- Tape or glue the skull to the popsicle stick.
- Paint the skull white then let dry. Then Paint the mouth black.
- Next, Paint the eyes and nose teal then let dry.
- Design your mask with the black paint marker. You can do this however you like but a few things I did first:
a wave at the bottom
a flower at the top
a heart between the eyes
a flower around the interior of the eyes and exterior - Once you have the above design elements, you can take your paint marker and create lines and dots that flow in the direction of the elements.
Notes
Use the printable to make your own mask or you can purchase a wooden mask to paint.
This art project takes about an hour to complete. If you've done a few it may take less time.
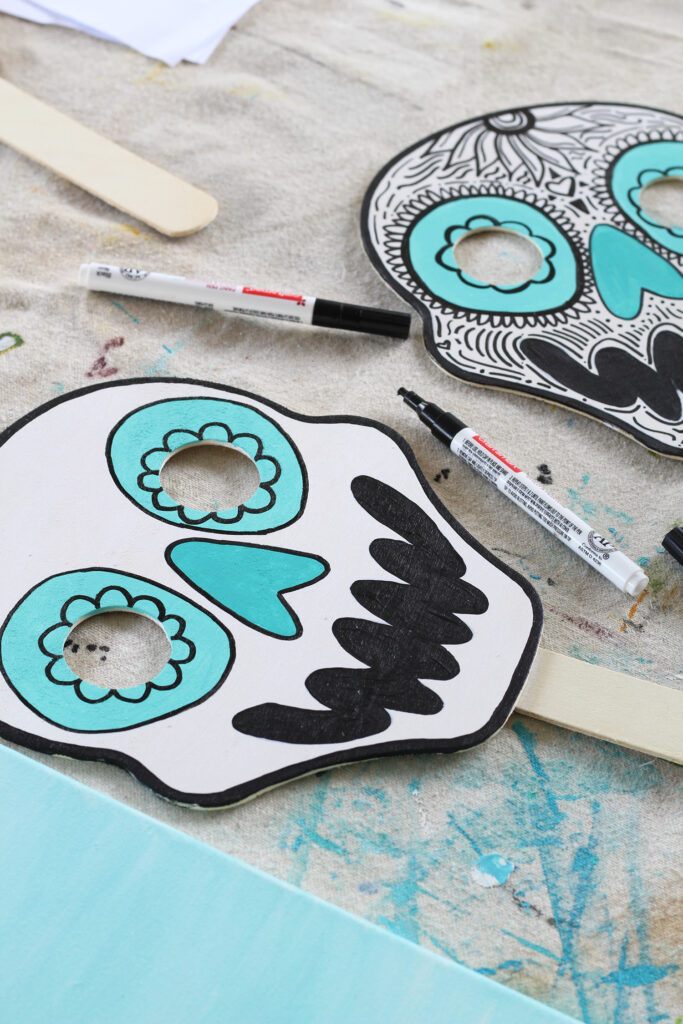
I recently rediscovered paint markers and they are my absolute favorite tool right now. It's really fun to create little details with these pens.
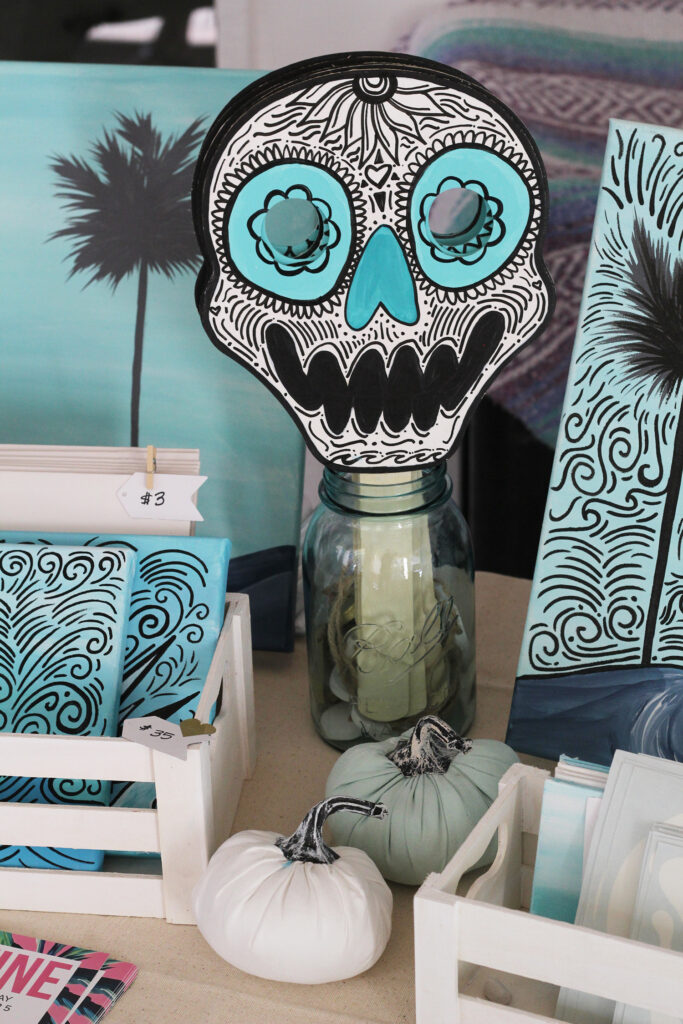
I hope you enjoy this fun paint tutorial! Let me know if you'd like to see more painting or craft projects from us. We've had a ton of fun creating and playing around the house with these little skulls. Give it a try and pin the image below to save it for later! xo, Bri
This post contains affiliate links. I only link to products I use and love.

